AutoPlugin: Write your first ChatGPT Plugin in 7 lines of code
Suvansh Sanjeev • 2023-05-04
Turn your Python code into ChatGPT plugins with AutoPlugin, an open source package available on PyPI: get started with `pip install 'autoplugin[gen]`
Check out the AutoPlugin PyPI listing here, and the code/README here!
ChatGPT plugins endow ChatGPT with tools that offer up-to-date information, access to actions such as booking restaurant reservations, sending emails, creating Spotify playlists, and more.
OpenAI is still expanding access to ChatGPT plugins, so if you don’t have access yet, sign up for the waitlist and bookmark this page for later!
For those of you that do have developer access to plugins, we want to expedite your workflow for generating and testing plugins with AutoPlugin! AutoPlugin is an open source Python package that lets you register your Python functions and instantly generate the spec files you need to set up your plugins (ai-plugin.json, openapi.yaml).
Minimal Example
First, install AutoPlugin, optionally with dependencies to generate automatic function descriptions:
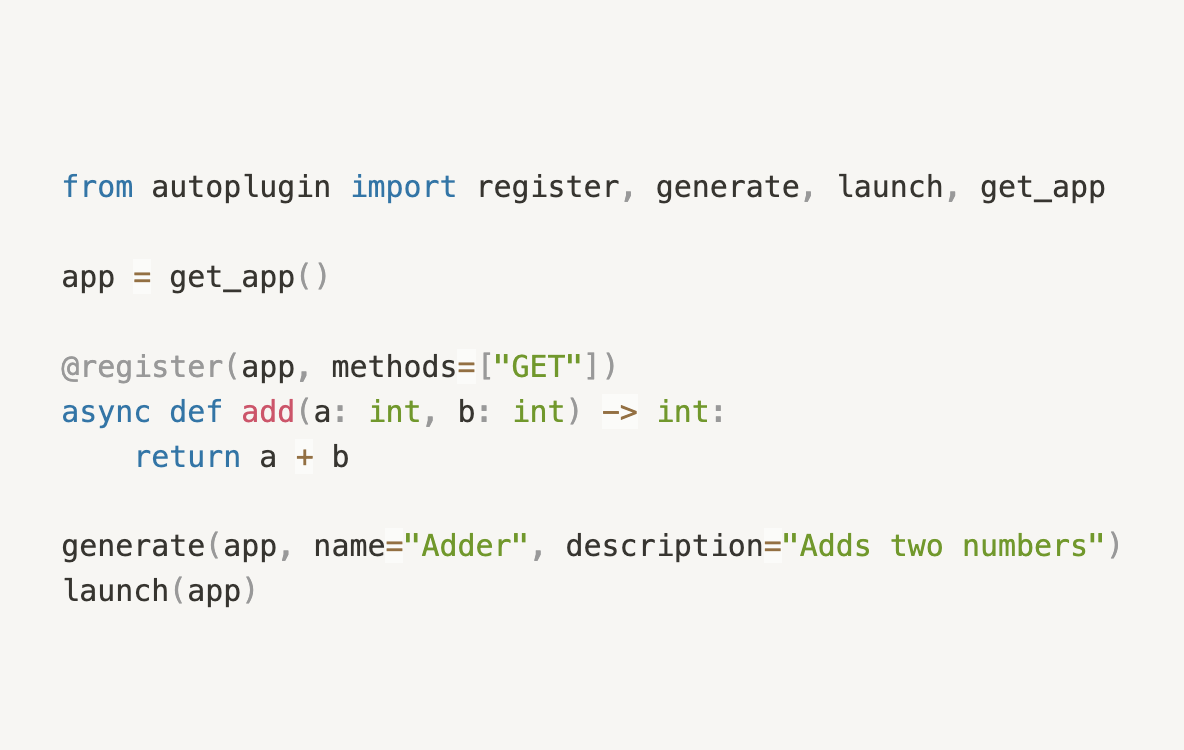
pip install 'autoplugin[gen]'And as promised, a minimal 7 line ChatGPT extension:
from autoplugin import register, generate, launch, get_app

app = get_app()

@register(app, methods=["GET"])
async def add(a: int, b: int) -> int:
		return a + b

generate(app, name="Adder", description="Adds two numbers")
launch(app)
Docs
The @register Decorator
The @register decorator is used as follows:
@register(app: FastAPI,
            methods: List[str],
            description: Optional[str],
            generate_description: Optional[bool])
async def my_func(...):
    ...
AutoPlugin generates function descriptions in the OpenAPI spec so that ChatGPT knows how to use your endpoints. There are a few arguments to customize the behavior of this generation.
app: Your FastAPI application. AutoPlugin provides aget_appfunction that includes CORSMiddleware for testing convenience (allows all origins by default).methods: A list of HTTP methods to be supported (e.g. ”GET”, POST”)description: If provided, overrides everything else and is used directly as the endpoint description for the OpenAPI specgenerate_description: If set toTrue, AutoPlugin will generate one automatically from OpenAI's API (requires the LangChain package and setting theOPENAI_API_KEYenvironment variable).
By default (if neither description nor generate_description are provided), the description is fetched from the docstring. If there's no docstring, AutoPlugin falls back to generating one automatically.
The generate Function
The generate function has the following signature:
def generate(app: FastAPI, version="v1", out_dir=".well-known",
             overwrite_plugin_spec=True,
             overwrite_openapi_spec=True,
             name="", description="",
**kwargs):app: Your FastAPI application again.version="v1": What version number to pass to both the plugin and OpenAPI specs.out_dir=".well-known": The directory to save both files to.overwrite_plugin_spec=True: If set to False, does not overwriteai-plugin.jsonif it already exists.overwrite_openapi_spec=True: If set to False, does not overwriteopenapi.yamlif it already exists.name="": If specified, used for bothname_for_humanandname_for_model.description="": If specified, used for bothdescription_for_humananddescription_for_model. Keep in mind the best practices for descriptions.**kwargs: All other keyword arguments are passed on toai-plugin.jsondirectly. See the full list of possible options here.
The launch Function
The launch function has the following signature:
def launch(app: FastAPI, host="127.0.0.1", port=8000):app: Still your FastAPI application.host="127.0.0.1": the host to launch the server onport=8000: the port to launch the server on
Testing
AutoPlugin also provides a testing_server utility (courtesy of florimondmanca) for testing your endpoints. Here's an example of how you can use it to test the /hello and /add endpoints from the example above:
from autoplugin.testing import testing_server
from os.path import join
import requests

def test_api():
    host = "127.0.0.1"
    port = 8000
    server, base_url = testing_server(host=host,
													port=port,
													app_file="path/to/example.py",
													app_var="app")

    with server.run_in_thread():
        # Server is started. Do your tests here.
        response = requests.post(join(base_url, "hello"),
																	json={"name": "John Doe", "age": 31})
        assert response.json() == {"result": "Hello, John Doe! Age 31."}

        response = requests.get(join(base_url, "hello"),
																	params={"name": "Jane Smith"})
        assert response.json() == {"result": "Hello, Jane Smith! Age 5."}

        response = requests.get(join(base_url, "add"),
																	params={"a": 6, "b": 8})
        assert response.json() == {"result": 14}
        # Server will be stopped.

test_api()
Happy hacking!
Get started with pip install 'autoplugin[gen]' and let us know what you make @BrilliantlyAI on Twitter!
See More Posts

brilliantly Blog
Stay connected and hear about what we're up to!